
Christmas phone case inserts: a free coloring page and a festive design
Short answer: we made two free Christmas inserts: a black-and-white coloring page and a full-colour snowy night design, both with a tree, bauble, gift, candy cane, gingerbread man and holly. Open one in the insert maker, choose your phone, print at 100%, cut out the camera window and slide it behind a clear case. Colour the first one yourself, or print the second as it is.
This is part of our Christmas phone case insert ideas, with 12 ideas for dressing a clear case in December.
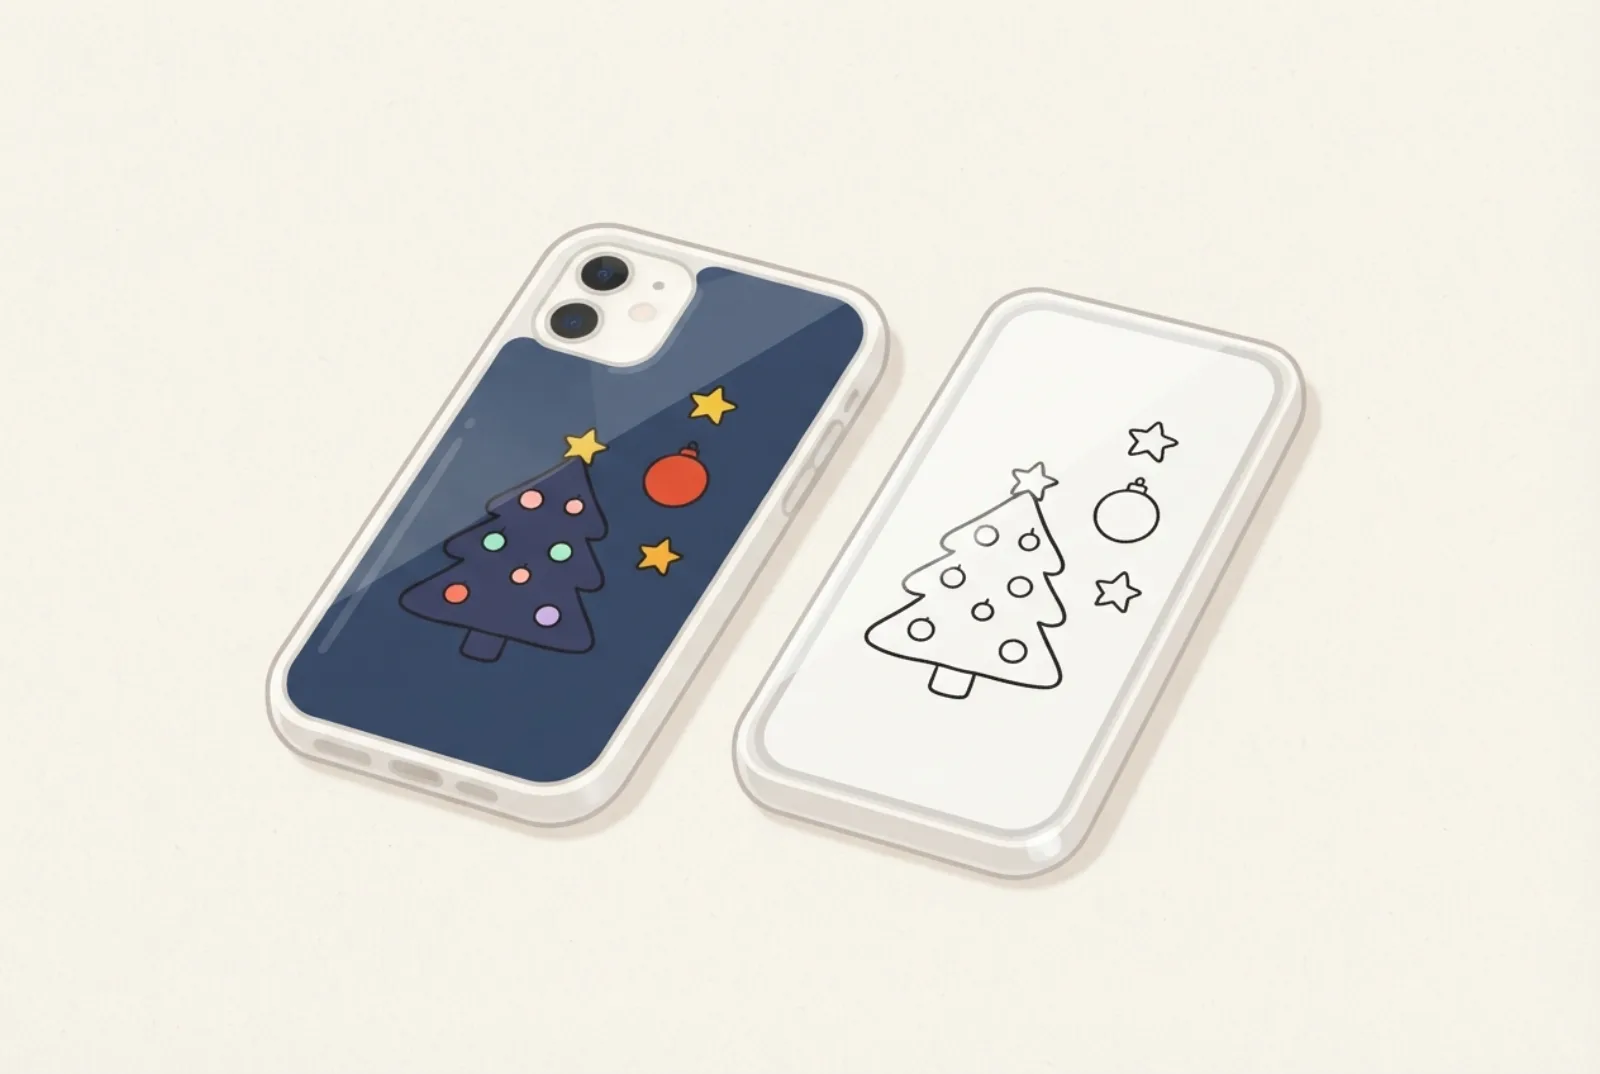
- Both Christmas designs are free, sized to your exact phone, and show the camera window while you work.
- Colouring the page takes about 20 to 30 minutes for a child (our estimate); the night design prints as it is.
- Photo paper makes the reds and greens stronger; plain paper is fine for pencils and crayons.
- Swap the insert after Christmas: it costs a sheet of paper.
The two designs
Tap a picture to open it in the maker. Choose your phone once; the design is sized to fit, with the camera window marked.
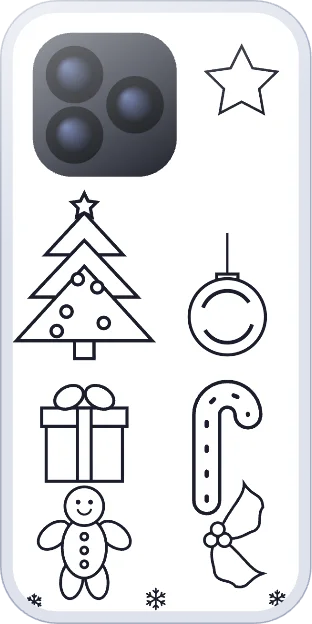
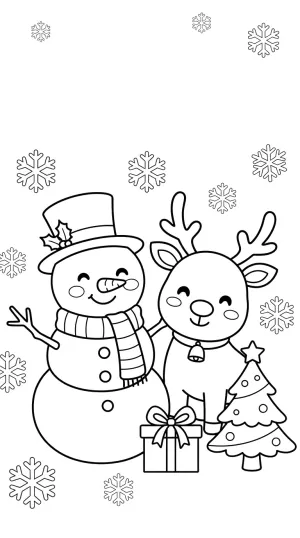
Christmas to color
Black-and-white outlines for pencils or crayons

Christmas night
Full colour, ready to print
What is on the page
Both designs use the same six shapes, plus a star and snowflakes. Where it helps, here is what the history says about each one, from the sources listed at the end.
| Shape | What the sources say | Colouring idea |
|---|---|---|
| Tree and star | Wikipedia: early trees were decorated with apples, nuts, wafers, paper roses, tinsel and sweets; candles came later; a star is often placed at the top | Green tree, gold star, small coloured baubles |
| Bauble | Wikipedia’s ornament article describes mold-blown glass ornaments from Lauscha, Germany, while its Christmas tree article gives a different date for the first glass baubles, so we give no date | Red with a white stripe, or any colour |
| Candy cane | Wikipedia’s ornament article lists white candy canes among the first tree decorations | Red and white stripes |
| Gift | We make no history claim | Any colour, with a gold ribbon |
| Gingerbread man and holly | We make no history claim; they are familiar Christmas shapes | Warm brown for the gingerbread; green leaves and red berries |
The two Wikipedia articles are “Christmas tree” and “Christmas ornament”. We left out dates where the articles disagree.
Pick an idea by effort
Times are our rough estimates, not measurements.
| Idea | Time | You need |
|---|---|---|
| Print Christmas night as it is | 5 minutes | A printer |
| Colour only the tree and star | 10 minutes | Green and yellow pencils |
| Colour the whole coloring page | 20 to 30 minutes | A box of pencils or crayons |
| Colour, then add your own doodles | 30 to 40 minutes | Pencils and a gel pen |
| Draw everything yourself | 20 to 45 minutes | Blank Christmas template |
How to colour it so it looks good behind a case
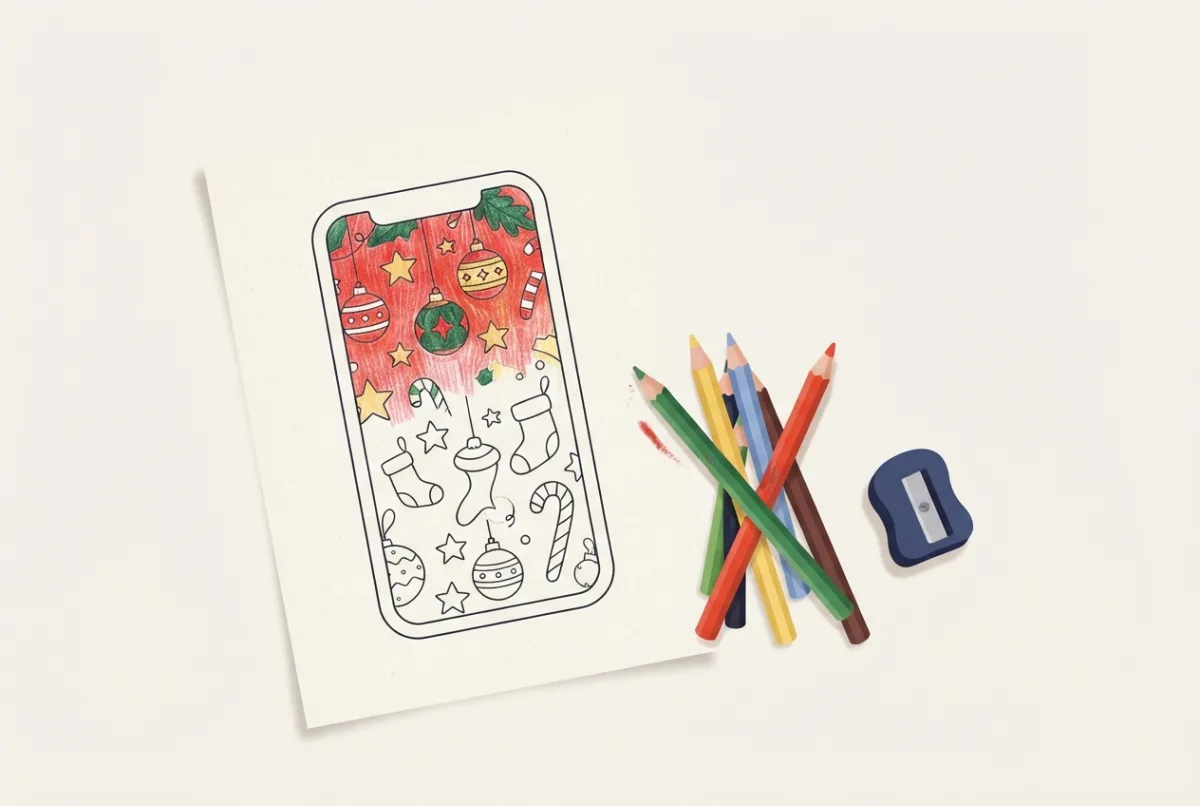
- Choose pencils or crayons. Felt-tip markers can bleed through thin paper and smudge against the phone; use heavier paper if you prefer markers. See the paper guide.
- Colour the whole shape. White gaps show as bright spots through a clear case.
- Stay inside the edge. The case rim hides a few millimetres.
- Print a spare. The first copy can be a colour test.
Ten ways to use the two designs
- Print the night design as it is for a quick festive look.
- Colour the coloring page in the colours of your own tree.
- Colour only part of it (just the tree and star) and leave the rest as line art.
- Add a name or a year in the handwritten font below the gingerbread man.
- Make a matching pair: colour one and keep the other as the night design.
- Give one to a friend with a short note: “Slide this behind your clear case.”
- Print the coloring page on pale coloured paper for a softer look.
- Use it as a party activity for children (see the class plan below).
- Decorate around the camera window with a few hand-drawn snowflakes, keeping the details clear of the hole.
- Photograph your finished colouring flat in daylight and reprint it in the photo insert maker, so you keep a copy.
Words to add
Short text works best behind a clear case, so keep it to a line. These lines are original, so use them freely.
| For | Short lines |
|---|---|
| Yourself | “Cosy mode on.” · “Hello, winter.” · “Snow day.” |
| A friend | “Merry everything.” · “Glad it’s you.” · “Season’s best.” |
| Family | “Home for Christmas.” · “Our tree, our year.” · “Together.” |
| A child | “Santa’s helper.” · “My first insert.” · “Made by me.” |
Keep the words below the camera window and avoid lyrics or famous quotations unless they are public domain; your own words are the safe choice.
A 30-minute class or party plan
This plan is ours, not from a source. It works for a small group.
| Minutes | Step |
|---|---|
| Before | Choose phones or let each child decorate a parent’s. Print the coloring page for each model at 100%, plus a few spares. |
| 0 to 5 | Show the two designs and explain the camera window. |
| 5 to 20 | Colour with pencils or crayons marked with the AP seal, as explained in our Halloween guide. |
| 20 to 30 | An adult cuts the outlines and camera windows; children try them in the cases. |
Colouring techniques that suit a phone-size page
These are general craft tips, not tests. The shapes are small, so simple methods work best.
| Technique | How | Good on |
|---|---|---|
| Flat colour | Colour inside the line with even strokes in one direction | The gift, the bauble and the star |
| Two-tone shading | Colour the whole shape lightly, then press harder along one side | The tree and the gingerbread man |
| Stripes | Draw diagonal bands, then colour every other band | The candy cane |
| Dots and details | Add dots, zigzags or a white gel pen after colouring | Baubles and ribbons |
| Snow | Leave the background white or add pale blue shading | The edges around the snowflakes |
Make a small Christmas set
Because the insert slides in and out, a set of three lets you change the look through December. A simple plan:
- Early December: the full-colour night design, as it is.
- Mid December: your own coloured version of the coloring page.
- Christmas week: a family photo with a short greeting (see Christmas insert ideas).
Print all three on the same paper, so the case closes the same way each time you swap. Keep the spares flat in a folder.
Paper, printing and timing
- Use glossy photo paper for the night design; plain paper is fine for colouring. Print at 100% (print guide).
- Cut around the camera hole with care; see how to cut the camera hole.
- If an insert does not fit, these fixes usually solve it.
- For a gift, make it at least a week early and check the phone model first: gift ideas.
More Christmas coloring pages
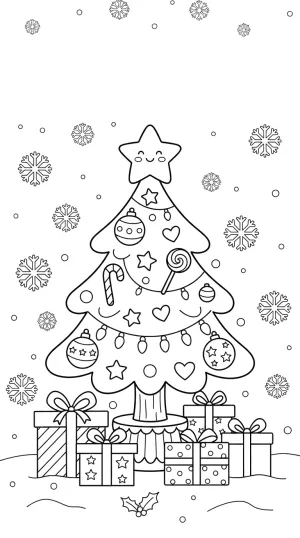
Two more detailed Christmas pages to color, in addition to the set above. See all coloring pages.
Questions
Are the Christmas designs free?
Yes. Both are free for personal use, with no account needed.
Which phones do they fit?
Any phone or tablet in the maker. Choose your model and the design is drawn at the right size, with the camera window marked.
Which paper is best?
Plain paper for colouring with pencils or crayons; glossy photo paper for the night design. See the paper guide.
Can I add my own text or a photo?
Yes. In the maker you can add text, stickers or a photo on top of a design, or start from a blank template and draw.
Can I use these designs on things I sell?
The designs are free for personal use. Please read the terms before using them for anything else.
What do I do with the insert after Christmas?
Swap it for another design, or keep the file and reprint it next year.
Sources
- Wikipedia: Christmas tree (early decorations, candles later, star on top).
- Wikipedia: Christmas ornament (early decorations including white candy canes; glass ornaments).
Find the template for your phone
Every guide works best with a true-size template for your exact model: iPhone templates, Samsung Galaxy templates, Google Pixel templates, iPad templates, or all phone models. Then open the insert maker to print it.